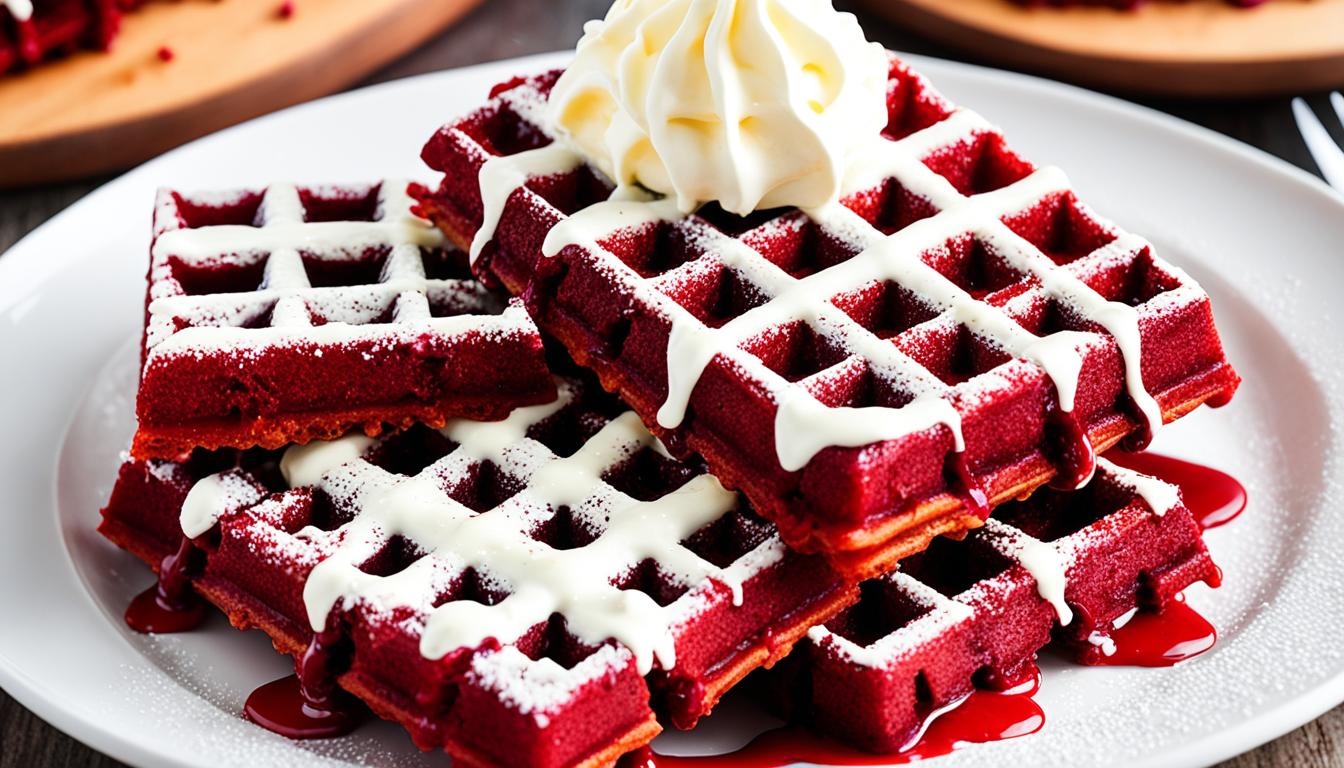
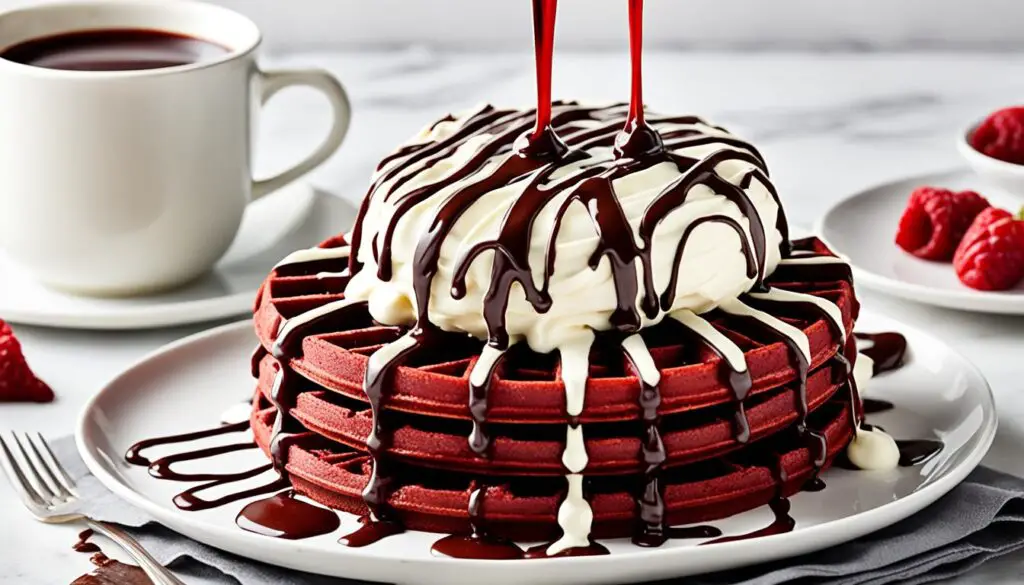
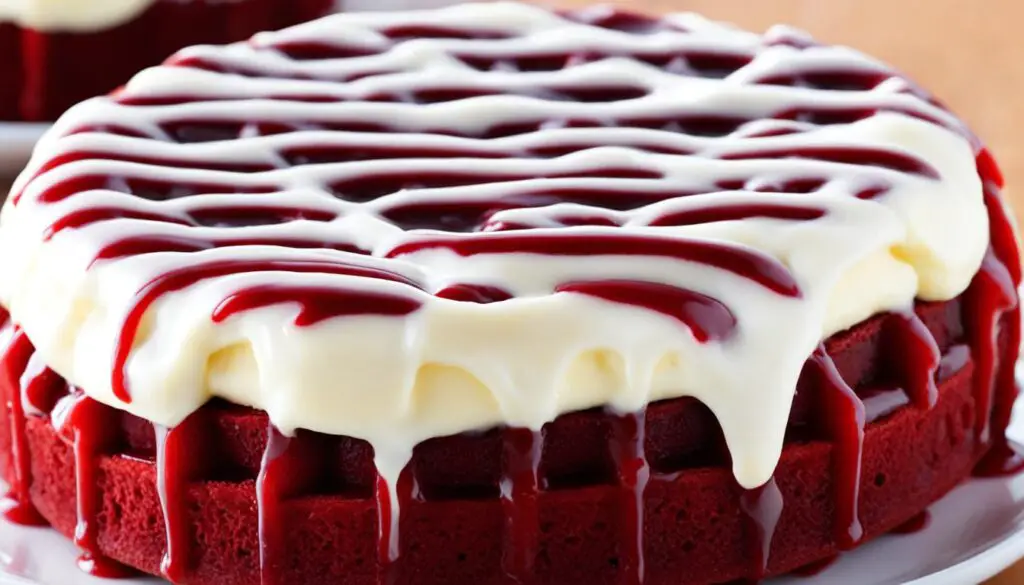
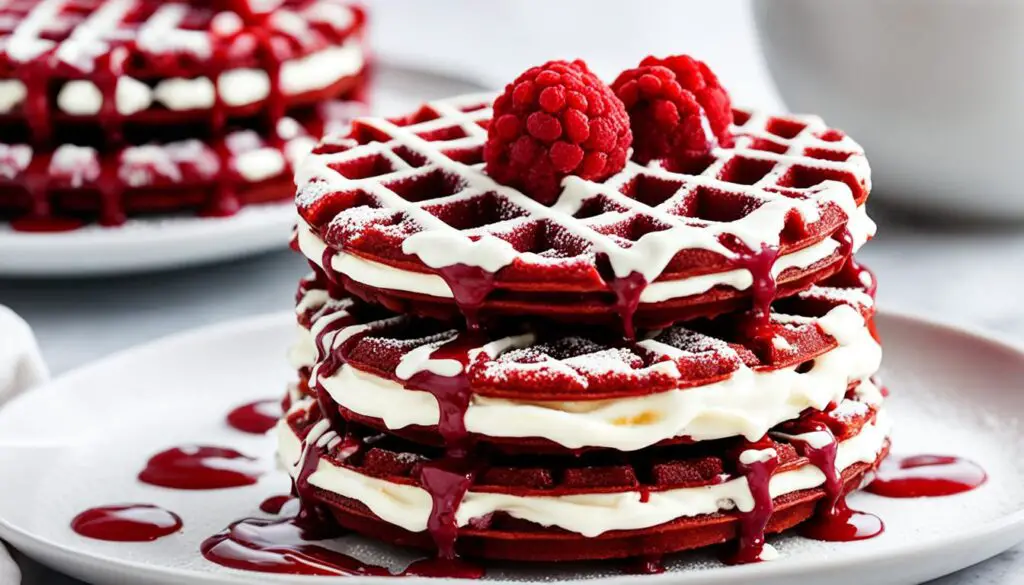
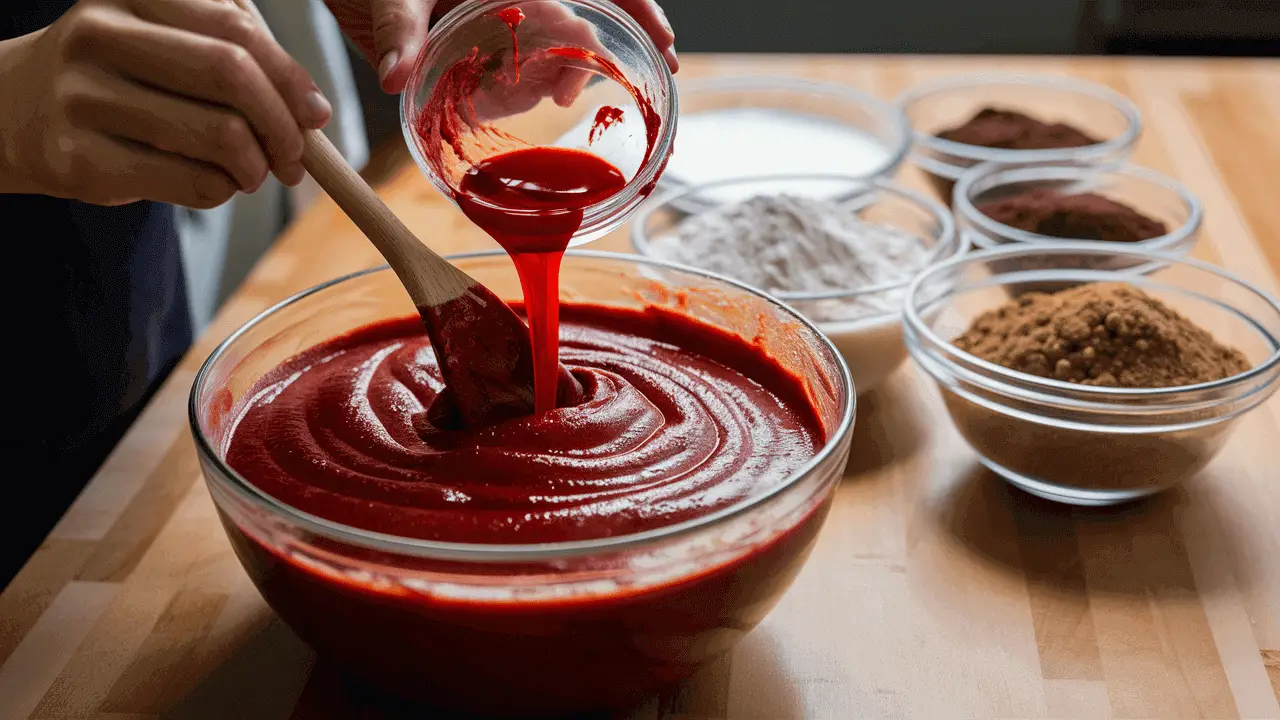
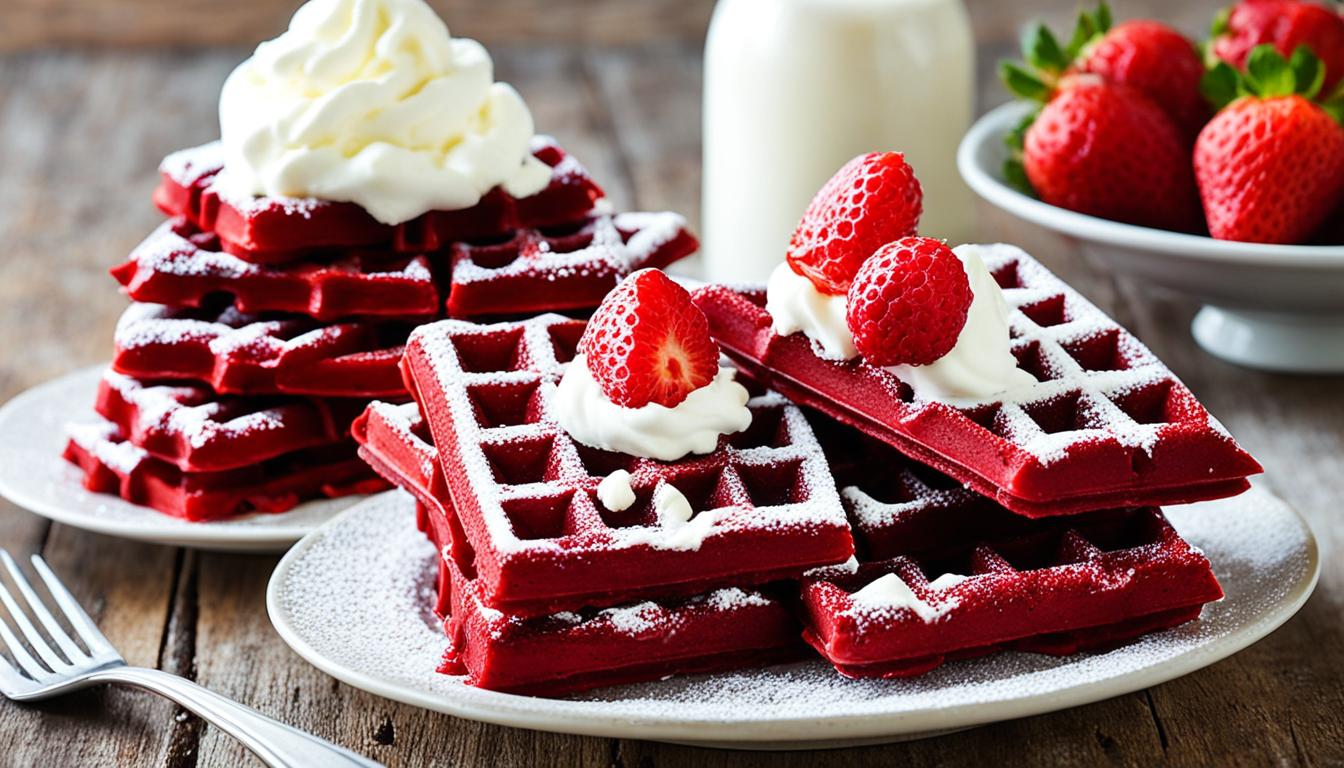
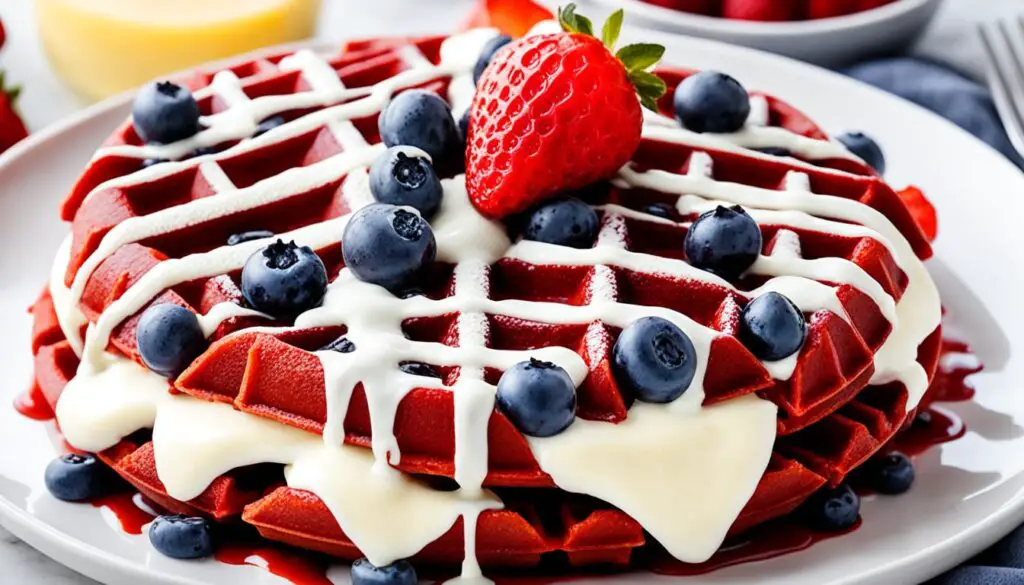
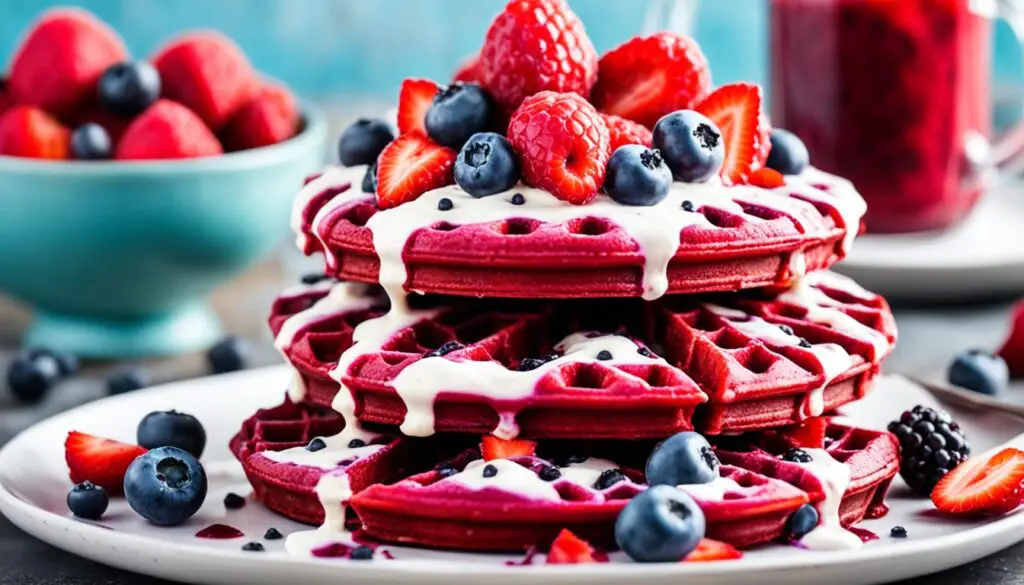
The bright red color and rich taste of red velvet waffles are truly magical. This breakfast treat is perfect for anyone who loves waffles. It’s a mix of fluffy buttermilk waffles, cocoa powder, and red food coloring. Top them with a creamy cream cheese glaze for pure joy.
Making these waffles is simple. Just mix all-purpose flour, baking powder, and granulated sugar. Add buttermilk, melted butter, large eggs, and vanilla extract. The rich cocoa powder lends a decadent chocolate flavor, while the buttermilk ensures a tender, fluffy texture. But the star of the show? The luscious cream cheese glaze, drizzled generously over each waffle, adding a tangy sweetness that perfectly complements the cocoa notes.
A quick tip: a bit of apple cider vinegar adds a nice touch. For the glaze, combine cream cheese, butter, powdered sugar, and milk. Beat it until it’s creamy and ready to pour.
Brunch has never been so memorable. Prepare to impress your loved ones, whether it’s a romantic morning for two or a festive gathering with friends and family. These red velvet waffles are guaranteed to steal the show, leaving everyone craving for more.
Whether you’re a seasoned waffle connoisseur or a novice in the kitchen, this recipe promises a delightful experience from start to finish. Let’s examine the ingredients, measurements, and step-by-step instructions that will transform your mornings into a red velvet paradise.
Key Takeaways
-
Indulgent Flavor Combo: Rich cocoa, tangy buttermilk, and decadent cream cheese glaze come together in a harmonious blend of flavors that will make your taste buds sing.
-
Luscious cream cheese glaze: The cream cheese glaze is made with cream cheese, butter, and powdered sugar.
-
Versatile Breakfast or Dessert: These waffles are equally at home on the breakfast table or as an indulgent dessert, making them a crowd-pleasing option for any occasion. Ideal for special occasions like Valentine’s Day or Mother’s Day.
-
Meal Prep Friendly: The batter can be made in advance and stored in the fridge, while cooked waffles freeze beautifully for future enjoyment.
-
Customizable Toppings: From classic maple syrup and whipped cream to indulgent chocolate sauce and candied nuts, the topping possibilities are endless.
-
Expert Tips and Tricks: Insider secrets like using gel food coloring, avoiding overmixing, and properly preheating the waffle iron ensure perfect results every time.
With their vibrant red hue, tender texture, and irresistible flavors, these red velvet waffles are sure to become a new favorite in your household. So, let’s get cooking!
Table of Contents
- 1 Indulge in Decadent Red Velvet Waffles
- 2 Cream Cheese Glaze: The Perfect Complement
- 3 Ingredients for Red Velvet Waffles with Cream Cheese Glaze (Makes 8 Waffles)
- 4 Step-by-Step Instructions for Making the Batter
- 5 Waffle Iron Mastery
- 6 How to Make the Cream Cheese Glaze
- 7 Elevate Your Brunch Game
- 8 Step-by-Step Guide to Perfection
- 9 Ingredients and Substitutions
- 10 Serving Suggestions and Toppings
- 11 Make Ahead and Freezing Tips
- 12 Dietary Variations and Substitutions
- 13 Nutritional Information and Portion Control
- 14 Expert Tips and Tricks for Achieving the Perfect Red Velvet Color and Ensuring Tender and Fluffy Waffles
Indulge in Decadent Red Velvet Waffles
Get ready for an amazing brunch. These delicious dessert waffles are a fun spin on a favorite, mixing in tasty chocolate and buttermilk.
A Twist on the Classic Dessert Favorite
Red velvet waffles make breakfast or brunch new and exciting. Their simple waffle batter makes cooking them a breeze, so your treat is stress-free to prepare.
Mouthwatering Combination of Chocolate and Buttermilk
Start by heating up the waffle iron and pouring the batter, then the fun begins. When they’re done cooking, you get tasty golden brown waffles with a perfect mix of chocolate and buttermilk.
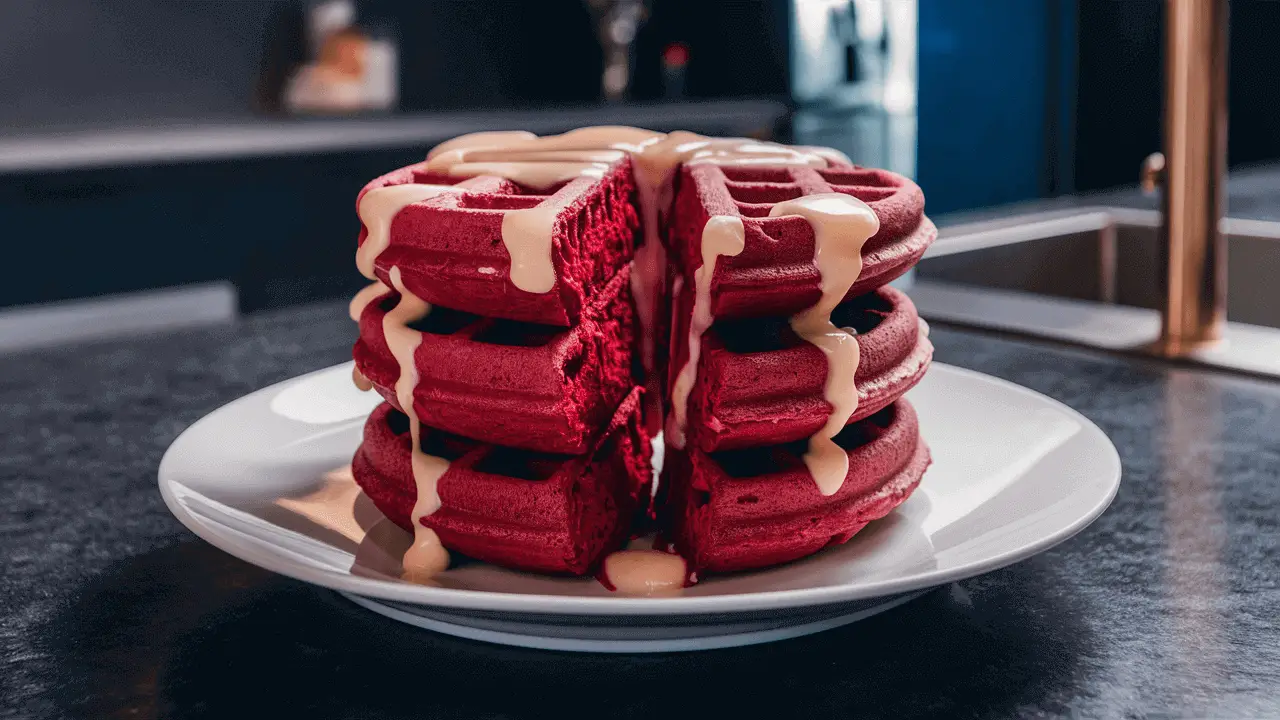
But wait, there’s more. A rich cream cheese frosting acts as a sweet glaze. Drizzle it over your waffles and you take every bite to the next level of richness.
Cream Cheese Glaze: The Perfect Complement
The tangy cream cheese glaze is a top pick with sweet red velvet waffles. This combo hits the spot with a mix of salty-sweet flavors. I like to drizzle it on top or use it for dipping, mixing the rich tastes together.
I make my waffles even better by adding classic toppings like fresh fruit. A chocolate drizzle and nut crunch also give them extra appeal. These toppings bring not just great looks but also extra tasty textures.
| Ingredient | Amount |
|---|---|
| Cream Cheese | 4 oz |
| Powdered Sugar | ⅔ cup |
| Vanilla Extract | ½ tsp |
| Whole Milk | 2-3 tbsp |
The cream cheese glaze combines cheese, sugar, vanilla, and milk for a tasty mix. It’s smooth and just a bit tangy. This makes it the perfect match for the sweet waffles, turning every bite into a flavor-filled experience.
- Drizzle the glaze over the warm waffles for a decadent treat
- Serve the glaze as a dipping sauce on the side
- Top the waffles with fresh berries or sliced bananas
- Sprinkle chopped pecans or walnuts for a delightful crunch
Ingredients for Red Velvet Waffles with Cream Cheese Glaze (Makes 8 Waffles)
If you enjoy red velvet treats, these red velvet waffles are sure to please and are perfect for kid-friendly eats. The key is in mixing together key ingredients to get the flavors and texture just right. This family recipe has been a favorite in my home for many years. Now, I’m happy to pass it on to you.
Buttermilk for Tender Waffles: Buttermilk is important for making these waffles soft and delicious. It’s tangy taste goes great with cocoa powder. This creates a taste that you can’t get enough of. Buttermilk also makes the waffles tender by working on the gluten in a way that makes them fluff up just right.
Cocoa Powder for Rich Chocolate Flavor: The rich flavor of chocolate is a must for any red velvet dessert including these waffles. We use top-notch unsweetened cocoa powder. It gives the waffles their amazing chocolate taste that goes so well with buttermilk. Every bite takes you to a place filled with chocolate joy.
Red Food Coloring or Beet Powder: The bright red color is essential for red velvet recipes and these waffles are no different. Most recipes use red food coloring, but beet powder can also do the job naturally. It brings a lovely red color and a hint of earthiness that matches well with the chocolate. Whether you choose food coloring or beet powder, you’ll end up with a beautiful result and a story to tell over these yummy waffles.
Dry Ingredients:
- 2 cups (250g) all-purpose flour: Provides structure and binds the ingredients together.
- 1/4 cup (50g) granulated sugar: Adds sweetness and helps with browning.
- 1 tablespoon baking powder: Leavening agent that helps create a light, fluffy texture.
- 1/2 teaspoon kosher salt (or 1/4 teaspoon table salt): Enhances flavor and balances sweetness.
Wet Ingredients:
- 2 large eggs, at room temperature: Adds richness, structure, and helps bind the batter.
- 1 3/4 cups (420ml) buttermilk (or buttermilk substitute*): Provides tang and tenderizes the waffles.
- 1/2 cup (120ml) vegetable oil (or melted and slightly cooled unsalted butter): Adds moisture and contributes to a tender crumb.
- 1 teaspoon vanilla extract: Enhances flavor.
- 1-2 tablespoons red food coloring (gel or liquid): Gives the waffles their signature red velvet hue.
*Buttermilk Substitute: Add 1 3/4 tablespoons of lemon juice or vinegar to 1 3/4 cups of milk and let it sit for 5 minutes to create a tangy buttermilk alternative.
Step-by-Step Instructions for Making the Batter
-
Combine the Dry Ingredients
- In a large mixing bowl, whisk together the all-purpose flour, granulated sugar, baking powder, and salt until evenly distributed. Whisking thoroughly helps prevent any pockets of unmixed ingredients.
-
Mix the Wet Ingredients
- In a separate mixing bowl, beat together the eggs, buttermilk (or buttermilk substitute), vegetable oil (or melted butter), vanilla extract, and red food coloring with a hand mixer or whisk until smooth and well-combined. Using room temperature eggs will help them incorporate more easily.
-
Fold the Batter
- Create a well in the center of the dry ingredient mixture.
- Pour the wet ingredient mixture into the well.
- Using a rubber spatula, gently fold the wet ingredients into the dry ingredients until just combined. Start folding from the center and work your way outward, scraping the bottom and sides of the bowl to incorporate any dry pockets. Be careful not to overmix, as this can lead to tough waffles.
- The batter should be slightly lumpy but without any large dry flour streaks remaining.
-
Rest the Batter (Optional)
- For enhanced flavor and texture, let the waffle batter rest at room temperature for 5-10 minutes. This resting period allows the baking powder to fully activate and the starches in the flour to absorb some of the liquid, resulting in a more cohesive and flavorful batter.
After following these steps, your red velvet waffle batter will be ready to cook on a preheated, greased waffle iron for deliciously fluffy and vibrant waffles. The combination of ingredients and careful technique will ensure a tender, moist crumb with the perfect balance of cocoa richness and tangy buttermilk flavor.
Waffle Iron Mastery
Alright, it’s time to put your waffle iron to work! Cooking the perfect red velvet waffles requires a bit of finesse, but don’t worry, I’ve got some tried-and-true tips to share.
Preheating the Waffle Iron
This step is crucial, folks. Preheat your waffle iron before pouring in the batter. This ensures the waffles will be cooked evenly. Let the waffle iron get hot for 5-10 minutes first. Preheat your waffle iron according to the manufacturer’s instructions. Trust me, I learned the hard way that an improperly heated iron can lead to unevenly cooked waffles or, even worse, a stuck-on mess.
Greasing the Iron
Nobody likes a waffle that sticks to the iron like a clingy ex. Give your waffle iron a light coating of non-stick cooking spray or brush it with a bit of vegetable oil. This simple step ensures easy release and crispy-on-the-outside, fluffy-on-the-inside perfection.
Pouring the Batter
Here’s where things get fun! Pour the batter onto the preheated iron, using about 1/2 to 3/4 cup per waffle section. Don’t overfill, or you’ll end up with a batter volcano (and nobody wants to clean that up).
Cooking Time and Doneness
Keep an eye on your waffles as they cook. Waffle cooking time varies but usually takes 4-6 minutes. Different temps and preferences affect this. The exact time will vary depending on your iron, but generally, you’ll want to cook them until they’re golden brown and steam has stopped escaping from the sides. I like to peek after a few minutes to check on their progress.
Removing and Keeping Waffles Warm
Use a fork or tongs to carefully remove the cooked waffles from the iron. If you’re making a big batch, keep the cooked waffles warm in a 200°F (93°C) oven until you’re ready to serve. No one wants a cold, sad waffle!
Here’s a handy table to help you keep track of the cooking process:
| Step | Key Points |
|---|---|
| Preheating | Follow manufacturer’s instructions |
| Greasing | Use non-stick spray or oil |
| Pouring Batter | 1/2 to 3/4 cup per waffle section |
| Cooking Time | Until golden brown and steam stops |
| Removing | Use fork or tongs |
| Keeping Warm | 200°F (93°C) oven |
Remember, cooking waffles is all about practice and patience. Don’t be discouraged if your first few attempts aren’t picture-perfect. With a little experience and these tips, you’ll be a waffle master in no time!
How to Make the Cream Cheese Glaze
The cream cheese glaze is undoubtedly the crowning glory of these red velvet waffles. This tangy, sweet topping takes the flavor profile to new heights, perfectly complementing the rich cocoa notes. Now I will discuss the ingredients and preparation.
Ingredients (Makes enough glaze for 8 waffles):
- 4 oz (113g) full-fat cream cheese, softened at room temperature: Provides the tangy base and creamy texture.
- 1 cup (120g) powdered sugar: Adds sweetness and helps thicken the glaze.
- 2-3 tablespoons milk or cream: Thins out the glaze to a pourable consistency.
- 1 teaspoon vanilla extract: Enhances the overall flavor.
Step-by-Step Preparation:
-
Soften the Cream Cheese:
- Take the cream cheese out of the refrigerator and let it sit at room temperature for at least 30 minutes to soften. This step is crucial for achieving a smooth, lump-free glaze.
-
Beat the Cream Cheese:
- In a medium mixing bowl, beat the softened cream cheese with a hand mixer or whisk until light and fluffy, about 1-2 minutes.
-
Add the Powdered Sugar:
- Gradually add the powdered sugar to the beaten cream cheese, mixing well after each addition, until fully incorporated and smooth.
-
Thin Out the Glaze:
- Add 2 tablespoons of milk or cream to the mixture and whisk until combined.
- If the glaze is too thick, add the remaining 1 tablespoon of milk or cream and whisk until you reach a pourable, but not too thin, consistency.
-
Add the Vanilla Extract:
- Also stir in the vanilla extract until evenly distributed.
-
Drizzle or Pour the Glaze:
- If you prefer a more decorative look, transfer the glaze to a piping bag or ziplock bag with a small corner snipped off, and drizzle it over the warm waffles in a zigzag pattern.
- Alternatively, you can simply pour the glaze over the top of the waffles, letting it ooze into the nooks and crannies.
-
Allow the Glaze to Set:
- Let the glazed waffles sit for a minute or two to allow the glaze to slightly set before serving.
Here’s a quick reference table for the glaze-making process:
| Step | Instructions |
|---|---|
| 1 | Soften cream cheese at room temperature |
| 2 | Beat cream cheese until light and fluffy |
| 3 | Gradually add powdered sugar, mixing well |
| 4 | Add milk/cream to reach desired consistency |
| 5 | Stir in vanilla extract |
| 6 | Drizzle or pour glaze over warm waffles |
| 7 | Allow glaze to set briefly before serving |
With its tangy creaminess and perfect balance of sweetness, this cream cheese glaze is sure to elevate your red velvet waffle experience to another level. So don’t be shy – drizzle or pour it on generously!
Elevate Your Brunch Game
Looking to wow your friends at brunch? These red velvet waffles are a stellar pick. They’re great for big days like Valentine’s or Mother’s Day. Plus, they turn any ordinary day into a grand affair.
Ideal for Special Occasions
Imagine these waffles at your next gathering. Their deep red color and chocolate taste will be a hit. Top them off with cream cheese icing and fresh berries for a treat that’s as stunning as it is delicious.
Valentine’s Day, Mother’s Day, or Any Day
These waffles are perfect for celebrations or self-care days. And they’re so flexible. You can make them without buttermilk or with vegan and gluten-free tweaks. This means everyone can join in the indulgence.
The best part? They can be made ahead, and reheating instructions are included. So, serve them up on a lazy weekend or as a weekday surprise. You’re sure to love them anytime.
These waffles are a game-changer for any brunch. They’re gorgeous, delicious, and can be adapted to various needs. Why not make your next brunch a bit special with these red velvet wonders?
Step-by-Step Guide to Perfection
To make excellent red velvet waffles, focus on creating the perfect batter. This involves adding the right mix-ins for an amazing taste. You’ll soon be making waffles that are light, fluffy, and delicious.
Mastering the Waffle Batter
Mixing the dry and wet ingredients just right is crucial for tasty waffles. First, combine flour, cornstarch, cocoa, baking powder, and more by sifting. In another bowl, blend egg yolks, butter, buttermilk, and vanilla. Mix the wet and dry ingredients gently, without overdoing it.
Achieving the Perfect Texture
To create light waffles, add whipped egg whites. This simple step makes the waffles airy. Skip this step if you like them a bit denser. Also, don’t forget to mix in chocolate, nuts, or fruit for more flavor.
Glazing and Garnishing Tips
After cooking your waffles, it’s time to top them off right. A cream cheese glaze adds a tangy flavor. But go easy on the amount. You can also use fresh fruit or just a sprinkle of sugar. Always check how healthy your choice is.
| Ingredient | Amount |
|---|---|
| Cream Cheese | 6 oz |
| Milk | 3 tablespoons |
| Vanilla Extract | 1/2 teaspoon |
| Powdered Sugar | 1 1/2 cups |
Follow these steps for awesome red velvet waffles every time. The fun part is trying different mix-ins and toppings. This lets you discover your own favorite flavors.
Ingredients and Substitutions
When it comes to baking, having the right ingredients is crucial. For these red velvet waffles, I meticulously gathered the essentials:
- All-purpose flour
- Dutch-processed cocoa powder (for that rich, chocolatey flavor)
- Baking powder
- Salt
- Granulated sugar
- Buttermilk (for a tangy twist)
- Vegetable oil (or melted butter for a richer taste)
- Large eggs
- Vanilla extract
- Red food coloring (gel or liquid, your choice)
But what if you’re missing an ingredient or want to cater to dietary restrictions? Fear not, I’ve got you covered with substitutions and variations:
- No buttermilk? Combine milk with a splash of vinegar or lemon juice, and voilà – a tangy substitute!
- Vegan? Swap regular milk for plant-based alternatives like almond or coconut milk, and use an egg replacer.
- Gluten-free? Reach for a gluten-free flour blend, and you’re good to go.
- Craving something extra? Consider adding mix-ins like chocolate chips, chopped nuts (pecans or walnuts work beautifully), or dried fruit (think cranberries or cherries) for a delightful twist.
Here’s a handy table to help you keep track of the options:
| Ingredient | Substitution or Variation |
|---|---|
| Buttermilk | Milk + vinegar/lemon juice |
| Eggs | Vegan egg replacer |
| Flour | Gluten-free flour blend |
| Mix-ins | Chocolate chips, chopped nuts, dried fruit |
Trust me, I’ve experimented with these substitutions, and the results were simply divine. Whether you’re accommodating dietary preferences or just feeling adventurous, these swaps will ensure your red velvet waffles are a hit.
Serving Suggestions and Toppings
Alright, folks, we’ve made it to the fun part – serving and topping these gorgeous red velvet waffles! Now, you could keep things simple and just drizzle on that heavenly cream cheese glaze, but where’s the fun in that?
Classic Toppings
Let’s start with the classics:
- Maple syrup – The quintessential waffle topping, providing a sweet, syrupy goodness that perfectly complements the rich cocoa flavor.
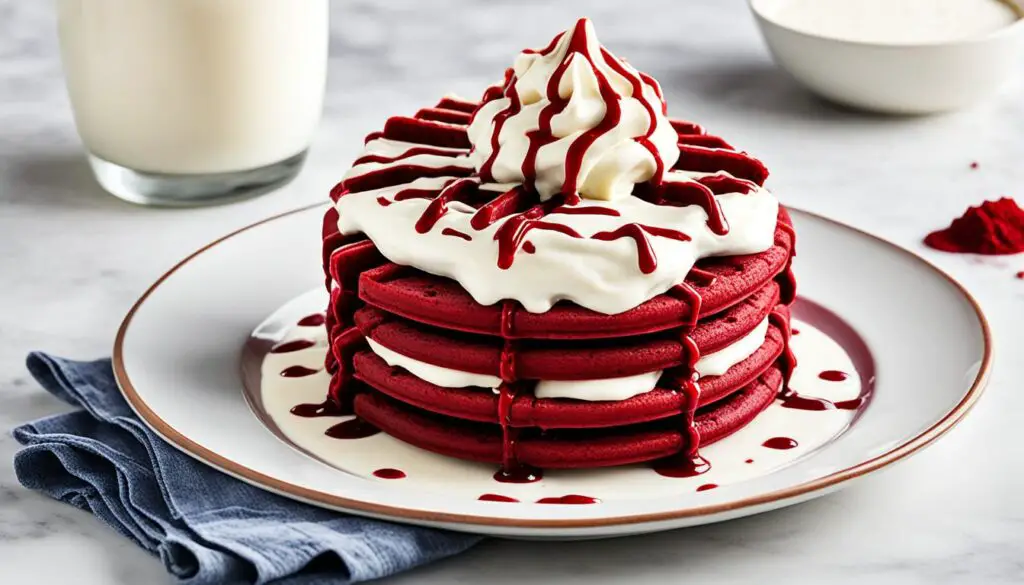
- Whipped cream – Light, fluffy, and oh-so-dreamy. A dollop of whipped cream adds a touch of indulgence to your waffle stack.
- Fresh berries – Juicy strawberries, tart raspberries, or plump blueberries add a burst of freshness and a pop of color.
| Classic Toppings | Notes |
|---|---|
| Maple Syrup | Enhances the cocoa flavor, adds sweetness |
| Whipped Cream | Light, fluffy, indulgent |
| Fresh Berries | Burst of freshness and color |
Decadent Toppings
But if you’re feeling a little extra, why not indulge in some of these luxurious options:
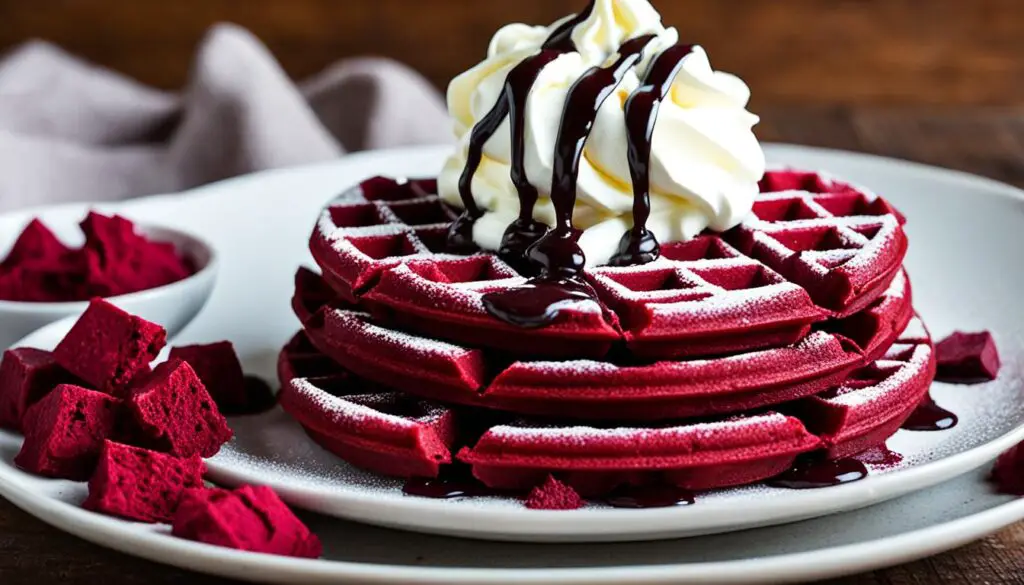
- Chocolate sauce or ganache – Because you can never have too much chocolate, am I right?
- Candied or toasted nuts – Pecans or walnuts add that perfect crunch and nutty flavor.
- Caramel sauce – Rich, gooey, and utterly irresistible, especially when drizzled over the waffles.
- Crispy bacon or sausage patties – For those who love a little salty-sweet combo action.
| Decadent Toppings | Notes |
|---|---|
| Chocolate Sauce/Ganache | Indulgent chocolate goodness |
| Candied/Toasted Nuts | Nutty crunch and flavor |
| Caramel Sauce | Rich, gooey, irresistible |
| Crispy Bacon/Sausage | Salty-sweet combo |
Presenting and Plating
| Presentation | Notes |
|---|---|
| Stacking | Layer the waffles for a towering, impressive display |
| Arranging | Arrange the waffles in a pretty pattern or design |
| Garnishing | Add a touch of freshness with herbs or edible flowers |
Now, let’s talk about presentation. You can stack ’em high for a towering, impressive display, or arrange them in a pretty pattern or design. And for an extra touch of flair, garnish with some fresh herbs or edible flowers (because why not?).
Remember, There are many options when it comes to topping these red velvet waffles. So have fun, get creative, and don’t be afraid to pile on the toppings – after all, that’s half the fun!
Make Ahead and Freezing Tips
Let’s face it, sometimes you just don’t have time to whip up a batch of red velvet waffles from scratch. But fear not, my friends, because these beauties can be prepped ahead of time or even frozen for later enjoyment! These red velvet waffles shine bright because you can make them before Mother’s Day brunch.
Making the Batter in Advance
If you’re short on time in the morning (or just not a morning person), you can mix up the waffle batter the night before and store it in the fridge until you’re ready to cook. Simply give it a good stir and add a splash of milk or buttermilk if it’s thickened up too much overnight.
Freezing Cooked Waffles
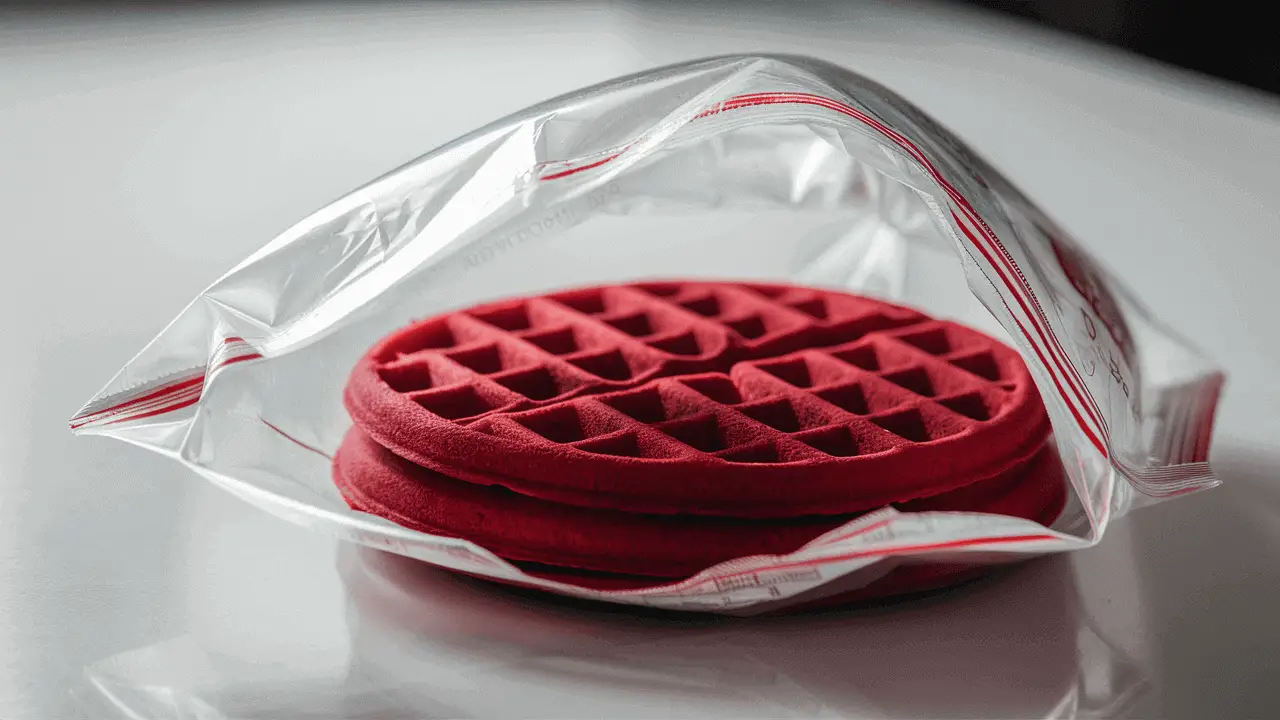
Grab those freezer-safe bags or containers because these waffles freeze like a dream! Let the cooked waffles cool completely, then pop them in the freezer. When you’re ready to enjoy them, just reheat in the toaster, oven, or microwave (gasp!).
Here are some reheating instructions:
- Toaster: Pop the frozen waffles in the toaster and toast until heated through and crispy on the outside.
- Oven: Preheat your oven to 350°F (175°C) and place the frozen waffles on a baking sheet. Bake for 10-15 minutes, or until heated through.
- Microwave: Place the frozen waffles on a microwave-safe plate and microwave on high for 1-2 minutes, flipping halfway through.
Storing Leftover Glaze
Don’t let that leftover cream cheese glaze go to waste! Transfer it to an airtight container and store it in the fridge for up to 5 days. When you’re ready to use it again, give it a good stir and maybe add a splash of milk or cream to thin it out if needed.
Here’s a handy table to keep you organized:
| Make-Ahead/Storage | Instructions |
|---|---|
| Make Batter in Advance | Mix and refrigerate overnight, add milk/buttermilk if needed |
| Freeze Cooked Waffles | Cool completely, freeze in airtight bags/containers |
| Reheating Frozen Waffles | Toaster, oven (350°F for 10-15 mins), or microwave (1-2 mins) |
| Store Leftover Glaze | Refrigerate for up to 5 days, thin out with milk/cream if needed |
With these make-ahead and storage tips, you can enjoy these red velvet waffles any time the craving strikes – no need to wait for a special occasion! Just remember to stock up on that cream cheese glaze, because trust me, you’re going to want extra.
Dietary Variations and Substitutions
Enjoying red velvet waffles doesn’t mean skipping joy for those with special diets. I offer vegan and gluten-free picks and a buttermilk swap for the dairy-free. Also, I’ll give tips for making waffles just right.
Vegan and Gluten-Free Options
For vegan waffles, use almond or oat milk and vegan butter instead of regular. For gluten-free, switch all-purpose flour with a blend meant for that. Adding xanthan gum helps with texture.
Buttermilk Substitute for Dairy-Free
To make buttermilk without dairy, mix one cup of non-dairy milk with lemon juice or apple cider vinegar. Wait 5 minutes, and it’s ready to use.
Watch the steam to know your waffles are done. Steam tells you they are ready. Use a spatula to take them out gently. To keep them crispy, use paper towels or a warm oven.
| Substitutions | Original Ingredient | Healthier Alternative |
|---|---|---|
| Flour | All-purpose flour | Whole wheat flour |
| Sweetener | Granulated sugar | Honey |
| Fat | Melted butter | Canola oil |
| Egg Replacer | Eggs | Applesauce |
| Nutritious Topping | – | Chia seeds |
It’s all about finding that sweet spot. look at red velvet waffles, even with dietary concerns. Smart tweaks make it a good-for-you meal. Enjoy without worry.
Nutritional Information and Portion Control
Eating these tasty red velvet waffles with cream cheese glaze can be a nice treat. But remember, watching how much you eat and knowing what’s in it is important. You’ll get 8 waffles from the recipe. Here’s what each one has:
| Nutrient | Amount (No Glaze) | % DV (No Glaze) | Amount (With Glaze) | % DV (With Glaze) |
|---|---|---|---|---|
| Calories | 300 | – | 450 | – |
| Total Fat | 14g | 18% | 24g | 31% |
| Saturated Fat | 3g | 15% | 13g | 65% |
| Trans Fat | 0g | – | 0g | – |
| Cholesterol | 60mg | 20% | 80mg | 27% |
| Sodium | 420mg | 18% | 520mg | 23% |
| Total Carbohydrates | 38g | 14% | 58g | 21% |
| Dietary Fiber | 1g | 4% | 1g | 4% |
| Total Sugars | 12g | – | 32g | – |
| Added Sugars | 10g | 20% | 30g | 60% |
| Protein | 6g | 12% | 8g | 16% |
| Vitamin D | 0.6mcg | 3% | 0.6mcg | 3% |
| Calcium | 150mg | 12% | 210mg | 16% |
| Iron | 1mg | 6% | 1mg | 6% |
| Potassium | 120mg | 3% | 150mg | 3% |
Notes about Adding Cream Cheese Glaze:
- Calories increase by 150
- Total Fat increases by 10g, primarily from cream cheese
- Saturated Fat increases significantly by 10g from cream cheese
- Cholesterol increases by 20mg from cream cheese
- Sodium increases by 100mg from salt in cream cheese
- Total Carbs increase by 20g from powdered sugar
- Total Sugars increase by 20g from powdered sugar
- Added Sugars increase by 20g from powdered sugar
- Protein increases by 2g from cream cheese
- Calcium increases by 60mg from cream cheese
The cream cheese glaze adds significant amounts of calories, fat, saturated fat, sugars and sodium per serving. Moderation is important when adding this decadent topping.
Now, let’s break down the sources of each of these nutrients:
- Calories: Primarily from the flour, sugar, oil/butter, and eggs.
- Total Fat: Mainly from the vegetable oil or butter.
- Saturated Fat: From the vegetable oil/butter and egg yolks.
- Trans Fat: None, since using natural oils and butter.
- Cholesterol: Provided by the egg yolks.
- Sodium: From the baking powder, salt, and buttermilk.
- Total Carbs: Mostly from the flour and granulated sugar.
- Dietary Fiber: A small amount from the flour.
- Total Sugars: From granulated sugar and natural sugars in buttermilk/eggs.
- Added Sugars: From the granulated sugar.
- Protein: Primarily from the eggs, with some from flour and buttermilk.
- Vitamin D: A small amount from the eggs.
- Calcium: Primarily from the buttermilk and eggs.
- Iron: A small amount from the flour and eggs.
- Potassium: Some from the buttermilk and eggs.
While indulgent, these waffles provide nutritional benefits like protein, calcium, iron and antioxidants. However, they should be an occasional treat as part of a balanced diet. Consider substitutions or sharing to moderate portions.
Healthier Swaps and Adjustments
If you’re feeling a little health-conscious (or just want to justify that extra drizzle of glaze), here are a few swaps you can make:
- Use whole wheat or oat flour instead of all-purpose flour for some extra fiber.
- Swap out half the oil or butter for unsweetened applesauce or Greek yogurt to cut down on fat.
- Use low-fat cream cheese or a lightened cream cheese glaze recipe.
Expert Tips and Tricks for Achieving the Perfect Red Velvet Color and Ensuring Tender and Fluffy Waffles
Alright, let’s get down to the nitty-gritty – the tips and tricks that will take your red velvet waffle game to the next level.
-
Achieving the perfect red velvet color: Don’t be shy with that food coloring! I’ve found that using gel food coloring gives you a richer, more vibrant hue than the liquid kind.
-
Ensuring tender and fluffy waffles: The key is to avoid overmixing the batter. As soon as the dry and wet ingredients are just combined, stop stirring. Those little lumps are your friends, trust me.
-
Troubleshooting common issues: If your waffles are sticking to the iron, it’s probably due to one of two things – either the iron wasn’t hot enough, or you didn’t use enough non-stick spray or oil. Adjust accordingly for future batches.
-
Can I use a different type of milk instead of buttermilk?
Sure, but buttermilk gives these waffles their signature tang and tender crumb. If you don’t have buttermilk, you can make a substitute by adding a tablespoon of lemon juice or vinegar to regular milk and letting it sit for 5 minutes. -
Can I make these waffles vegan?
Absolutely! Swap out the eggs for a vegan egg replacer, use plant-based milk and oil, and omit the cream cheese glaze (or use a vegan cream cheese substitute). -
How do I prevent the waffles from getting soggy?
Make sure to serve them hot off the iron, and if you’re making a big batch, keep the cooked waffles warm in a 200°F (93°C) oven until you’re ready to serve them all at once. Soggy waffles are a tragedy no one deserves.
Here’s a handy table to keep you on track:
| Tip/Trick | Purpose |
|---|---|
| Use gel food coloring | Achieve vibrant red color |
| Avoid overmixing batter | Ensure tender, fluffy texture |
| Properly heat and grease iron | Prevent sticking |
| Make buttermilk substitute | Recreate tangy flavor |
| Use vegan egg replacer | For vegan-friendly waffles |
| Keep waffles warm in oven | Prevent sogginess |
