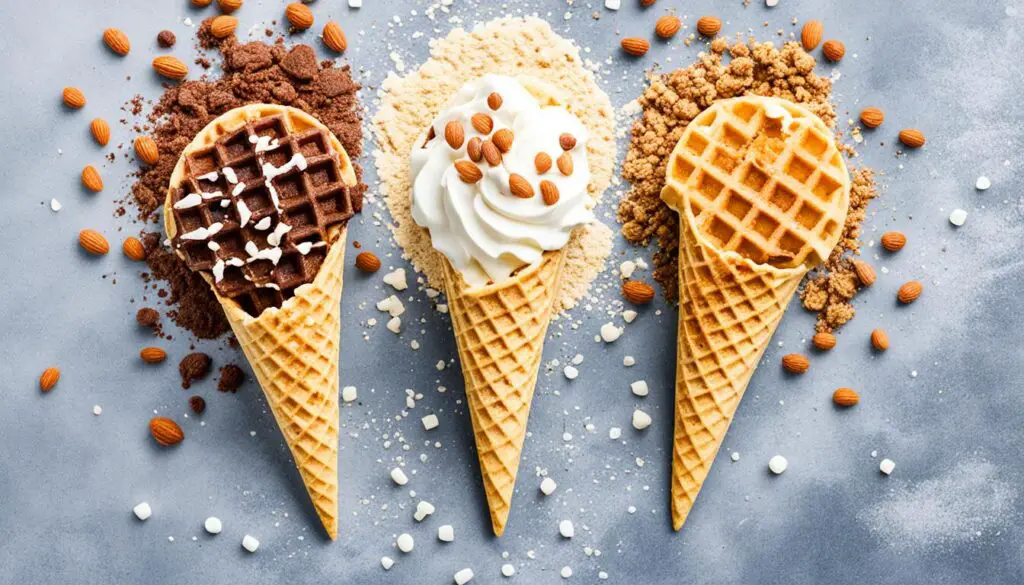
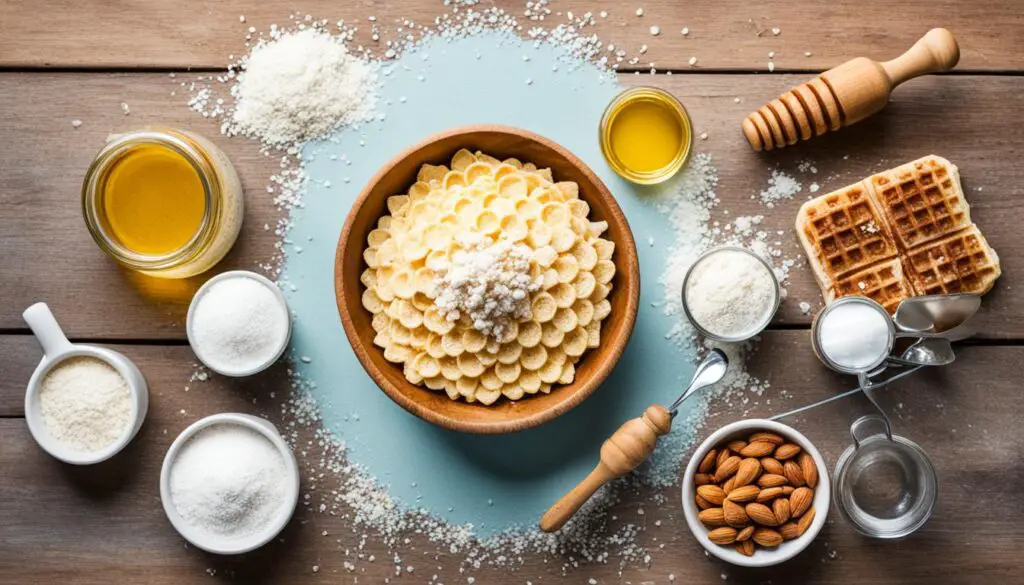
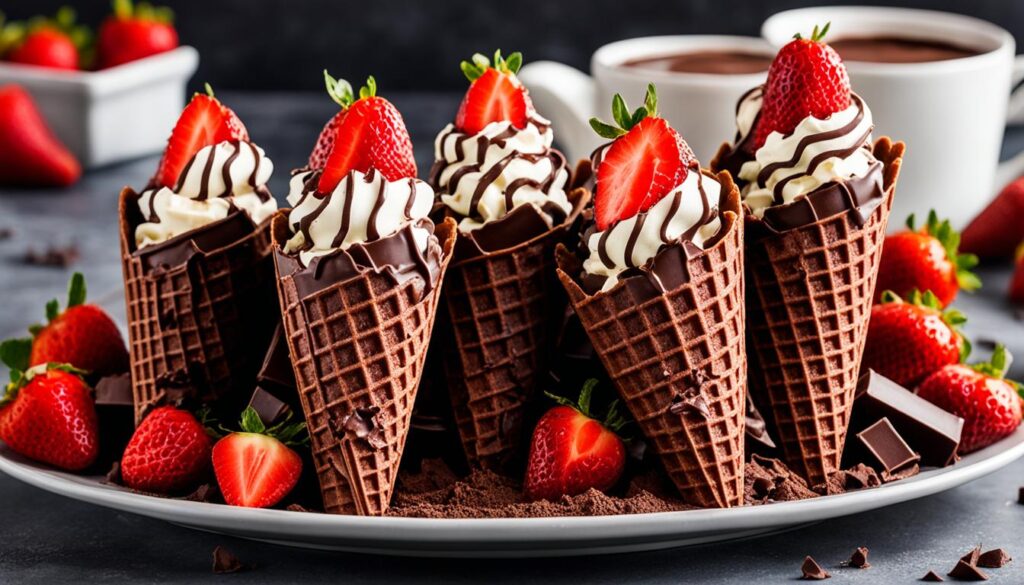
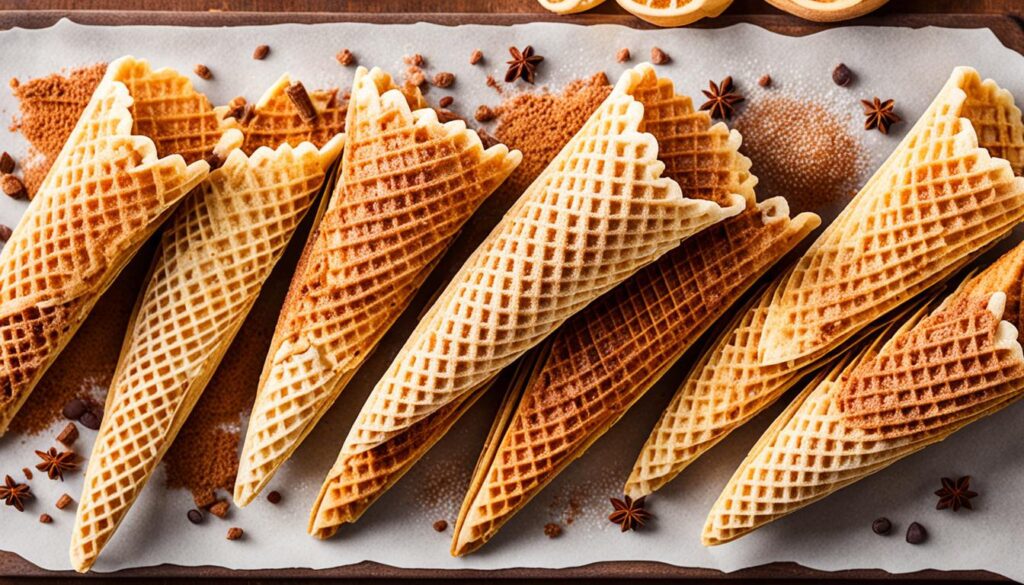
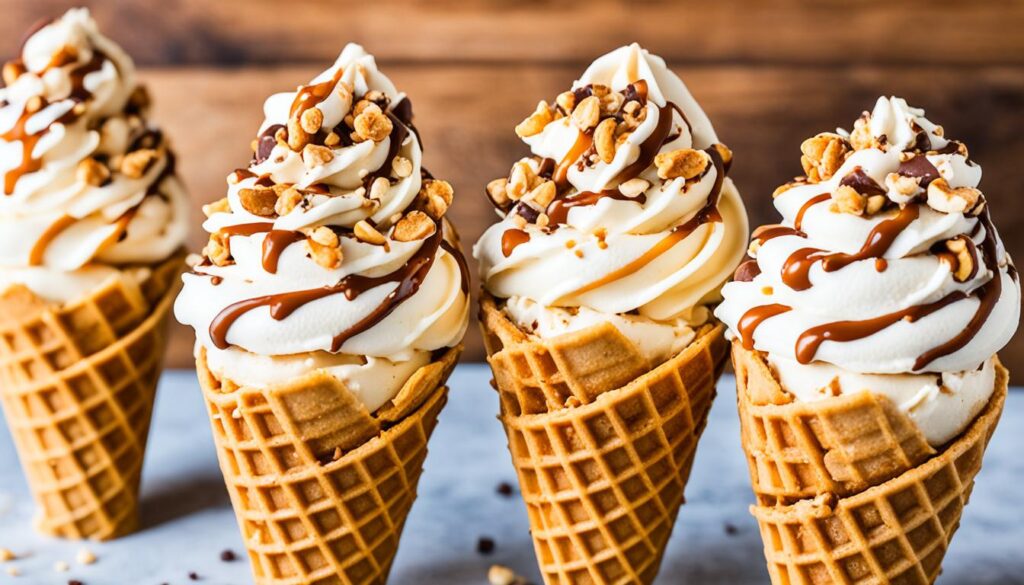
Did you know that 1 in 133 Americans has celiac disease, making gluten-free options a necessity? This fact is why I’m happy to share my gluten free waffle cone recipes. As the founder of “Luca and Bosco,” a new ice cream brand focused on gluten-free products, I’ve dedicated countless hours to perfecting homemade ice cream cones.
Through testing three base recipes and various gluten-free flour combinations, I’ve found the secret to making sturdy, flavorful gluten free desserts. These cones rival traditional ones. My aim is to bring the ice cream shop experience into your kitchen, complete with the enticing aroma of freshly baked waffle cones.
I’ll walk you through my proven recipes, techniques, and tips for Making the perfect gluten free waffle cones. Whether you have celiac disease or just want to try delicious alternatives, these recipes will transform your ice cream experience.
Key Takeaways
- Gluten free waffle cones can be made at home with simple ingredients
- Experimenting with different flour blends yields the best results
- Homemade cones offer a fresh and customizable dessert option
- Proper techniques ensure sturdy and flavorful gluten-free cones
- These recipes recreate the ice cream shop experience at home
Table of Contents
- 1 Why Make Your Own Gluten Free Waffle Cones
- 2 Essential Equipment for Making Waffle Cones
- 3 Key Ingredients for Gluten Free Waffle Cones
- 4 Basic Gluten Free Waffle Cone Recipe
- 5 Tips for Achieving the Perfect Texture
- 6 Classic Vanilla Gluten Free Waffle Cones
- 7 Chocolate Gluten Free Waffle Cones
- 8 Cinnamon Sugar Gluten Free Waffle Cones
- 9 Almond Gluten Free Waffle Cones
- 10 Lemon Poppy Seed Gluten Free Waffle Cones
- 11 Matcha Green Tea Gluten Free Waffle Cones
- 12 Pumpkin Spice Gluten Free Waffle Cones
- 13 Coconut Gluten Free Waffle Cones
- 14 Peanut Butter Gluten Free Waffle Cones
- 15 Berry Blast Gluten Free Waffle Cones
- 16 Vegan and Dairy-Free Waffle Cone Options
- 17 Sugar-Free and Low-Carb Waffle Cone Alternatives
Why Make Your Own Gluten Free Waffle Cones
Creating homemade waffle cones with gluten free ingredients has revolutionized ice cream for me. It’s not just about avoiding gluten; it’s about enhancing dessert quality.
Freshness and Flavor
Homemade waffle cones ensure freshness. The kitchen fills with the enticing smells of cinnamon and vanilla as I cook. These cones outshine store-bought ones, offering a crisp texture and deep flavor unmatched by others.
Customization Options
The versatility of homemade waffle cones is unparalleled. I can tailor desserts to my desires by selecting flavors like chocolate, cinnamon, or matcha. This control over ingredients is a significant advantage.
Cost-Effective Solution
Homemade waffle cones are an economical choice. With just ⅔ cup of gluten free flour blend, ½ cup of sugar, and a few staples, I can make 8 cones in 30 minutes. This is significantly cheaper than buying pre-made cones.
| Ingredient | Amount | Purpose |
|---|---|---|
| Gluten free flour blend | ⅔ cup | Base structure |
| Cinnamon | ½ teaspoon | Flavor enhancer |
| Egg whites | 2 | Binding agent |
| Vanilla extract | 1 teaspoon | Flavor boost |
| Milk | ¼ cup | Moisture |
With these ingredients and a waffle cone maker, I can whip up delicious, gluten free waffle cones quickly. This process is both enjoyable and rewarding, leading to a superior ice cream experience.
Essential Equipment for Making Waffle Cones
A waffle cone maker is crucial for Making the perfect gluten-free waffle cones at home. This gadget ensures even cooking and produces the classic waffle pattern we love. Opting for a proper waffle cone maker or pizzelle iron over makeshift methods yields consistently superior results.
| Ingredient | Amount | Purpose |
|---|---|---|
| Gluten-free flour blend | 1 1/2 cups | Base structure |
| Sugar | 1/2 cup | Sweetness and crispness |
| Eggs | 2 large | Binding and structure |
| Melted butter | 1/4 cup | Flavor and texture |
| Vanilla extract | 1 tsp | Flavor enhancer |
To prepare the batter, combine dry ingredients and whisk them. Then, mix in the wet ingredients until the mixture is smooth. Allow it to rest for 10 minutes. Preheat your waffle cone maker for at least 30 minutes. Cook each cone for about 2 minutes, then shape it using the cone form provided with your waffle maker.
Remember, practice is important! With a reliable waffle cone maker and patience, you’ll soon be making crispy, homemade waffle cones effortlessly. They’re far superior to store-bought options and ideal for serving with ice cream.
Key Ingredients for Gluten Free Waffle Cones
I find making gluten free waffle cones at home both enjoyable and rewarding. It’s a cost-effective way to create delicious treats while tailoring flavors to my liking. Now I will discuss the essential ingredients needed for these tasty cones.
Gluten Free Flour Blends
The cornerstone of a waffle cone is its flour. For gluten free cones, I opt for Bob’s Red Mill Gluten-Free 1 to 1 Baking Flour. This blend includes xanthan gum, which is vital for binding the ingredients. In my recipe, I use ⅔ cup of this flour to make 5-6 cones.
Sweeteners and Flavorings
For the cones’ sweetness, I incorporate ½ cup of organic cane sugar. Also I add ¼ teaspoon of sea salt for flavor. Occasionally, I’ll include vanilla or almond extract for extra taste. Feel free to experiment with spices like cinnamon or nutmeg for different flavors.
Binding Agents
Eggs are essential for binding in gluten free baking. My recipe requires 2 large eggs. If you’re seeking alternatives, aquafaba or flax eggs are viable substitutes. Moreover, I use ¼ cup of olive oil and ¼ cup of dairy-free milk to enhance binding and moisture.
Here’s a quick overview of the ingredients for my gluten free waffle cones:
- ⅔ cup gluten free flour blend
- ½ cup organic cane sugar
- ¼ teaspoon sea salt
- 2 large eggs
- ¼ cup olive oil
- ¼ cup dairy-free milk
To prepare the batter, I combine the dry ingredients first, followed by the wet ingredients. The batter is refrigerated for 30 minutes before cooking. Each cone has approximately 187 calories and is bursting with flavor. It’s important to store these cones found to preserve their crispness.
Basic Gluten Free Waffle Cone Recipe
I’m happy to share my simple recipe for gluten free waffle cones. This batter makes 12 cones, ideal for your top ice cream picks. Now I will discuss the ingredients and steps for these cones.
| Ingredient | Amount | Purpose |
|---|---|---|
| Gluten-free all-purpose flour blend | 2/3 cup | Base structure |
| Xanthan gum | 1/4 teaspoon | Binding agent |
| Sea salt | 1/4 teaspoon | Flavor enhancer |
| Granulated sugar | 1/4 cup | Sweetness |
| Brown sugar | 1/4 cup | Depth of flavor |
| Large eggs | 2 | Structure and richness |
| Whole milk | 1/4 cup | Moisture |
| Unsalted butter, melted | 1/4 cup | Texture and flavor |
| Vanilla extract | 1 tablespoon | Aroma and flavor |
Now, let’s prepare the waffle cone batter:
- Mix dry ingredients in a bowl
- Whisk wet ingredients separately
- Combine wet and dry mixtures until smooth
- Let batter rest for 5 minutes
To cook the cones:
- Preheat your waffle cone maker
- Pour 1/4 cup batter onto the iron
- Cook for about 2 minutes until golden
- Shape immediately using a cone roller
This recipe requires 10 minutes for prep and 40 minutes for cooking. Store your cones in an airtight container for up to 5 days. Enjoy your homemade gluten free waffle cones with your favorite ice cream flavors!
Tips for Achieving the Perfect Texture
Creating crispy waffle cones is an art that requires attention to detail. The ideal waffle cone texture begins with the right ingredients and techniques. Now I will discuss the important factors for Making the perfect gluten-free waffle cones.
Batter Consistency
The batter’s secret to great waffle cone texture is crucial. For 8 7-inch cones, combine 2/3 cup sifted gluten-free flour, 1/3 cup granulated sugar, 1/4 teaspoon salt, and 1 teaspoon baking powder. Add 2 large egg whites, 2 tablespoons melted unsalted butter, and 2 tablespoons milk. Blend until smooth and slightly thick. This consistency ensures even cooking and easy shaping.
Cooking Time and Temperature
Preheat your waffle cone maker to medium-high. Cook each cone for about 2 minutes, checking for a golden-brown color. This timing yields a crispy exterior while maintaining a slightly chewy interior. For the oven method, bake at 350°F for 6-8 minutes, closely watching to prevent burning.
Shaping Techniques
Mastering shaping tips is essential for perfect waffle cones. Work quickly while the cone is hot and pliable. Use gloves or a cloth to protect your hands. Begin rolling 1-2 inches from the edge for a tight bottom seal. Hold the shape for 10-15 seconds until it cools slightly. If cones soften, recrisp in a 300°F oven for 5 minutes.
| Ingredient | Amount | Purpose |
|---|---|---|
| Gluten-free flour | 2/3 cup | Base structure |
| Sugar | 1/3 cup | Sweetness, crispiness |
| Egg whites | 2 large | Binding, structure |
| Butter | 2 tbsp | Flavor, texture |
| Milk | 2 tbsp | Moisture, texture |
Classic Vanilla Gluten Free Waffle Cones
I’m happy to share my recipe for classic vanilla gluten free waffle cones. These treats bring back the joy of traditional ice cream cones for those with gluten sensitivities. Now I will discuss the ingredients and steps to make these crispy, golden cones for your favorite frozen treats.
- 1 cup gluten-free flour blend
- 1/4 cup granulated sugar
- 1/4 teaspoon salt
- 2 large eggs
- 1/4 cup melted butter
- 1/4 cup milk (dairy or non-dairy)
- 1 1/2 teaspoons pure vanilla extract
Now, let’s make these vanilla waffle cones:
- In a bowl, whisk together the gluten-free flour, sugar, and salt.
- In another bowl, beat the eggs, melted butter, milk, and vanilla extract.
- Combine wet and dry ingredients, mixing until smooth.
- Let the batter rest for 5 minutes to thicken slightly.
- Preheat your waffle cone maker to medium-high heat.
- Pour about 3 tablespoons of batter onto the center of the iron.
- Close and cook for 1-2 minutes until golden brown.
- Quickly remove and shape into a cone while still hot.
These vanilla waffle cones are perfect with any ice cream flavor. The gluten-free flour blend gives them structure, while the vanilla extract captures the classic taste of traditional cones. Keep your homemade cones in an airtight container to stay crisp for up to two weeks.
| Ingredient | Purpose |
|---|---|
| Gluten-free flour blend | Provides structure and texture |
| Sugar | Adds sweetness and helps with browning |
| Eggs | Bind ingredients and add richness |
| Butter | Enhances flavor and texture |
| Milk | Adds moisture and improves consistency |
| Vanilla extract | Provides classic vanilla flavor |
Chocolate Gluten Free Waffle Cones
Chocolate enthusiasts, prepare for a delightful treat – gluten-free chocolate waffle cones. These cones are ideal for scoops of your preferred ice cream flavors. Now I will discuss the recipe to make these tempting treats.
- 2/3 cup gluten-free all-purpose flour blend
- 2 tablespoons cocoa powder
- 1/4 teaspoon xanthan gum
- 1/4 teaspoon sea salt
- 1/4 cup granulated sugar
- 1/4 cup brown sugar
- 2 large eggs
- 1/4 cup whole milk
- 1/4 cup melted unsalted butter
- 1 tablespoon vanilla extract
Now, let’s mix the batter:
- In a bowl, combine the flour, cocoa powder, xanthan gum, and salt.
- In another bowl, whisk the sugars, eggs, milk, melted butter, and vanilla.
- Blend the wet and dry ingredients until smooth.
- Allow the batter to rest for 2-3 minutes.
To shape the cones:
- Heat your waffle cone maker to medium.
- Place 1/4 cup of batter in the iron’s center.
- Cook for 2-3 minutes until golden brown.
- Shape into cones using a mold while still hot.
Enhance the cones by dipping rims in melted chocolate and crushed nuts. These cones are best consumed immediately but can be stored in an airtight container for up to 5 days. Diabetics can enjoy these treats too, by using sugar substitutes and monitoring portion sizes.
| Ingredient | Purpose |
|---|---|
| Gluten-free flour blend | Base for the cone structure |
| Cocoa powder | Provides chocolate flavor |
| Xanthan gum | Improves texture and binding |
| Sugars | Sweetness and caramelization |
| Eggs | Binding and structure |
| Milk and butter | Moisture and richness |
| Vanilla | Enhances flavor |
Cinnamon Sugar Gluten Free Waffle Cones
I like making spiced waffle cones that bring warmth and coziness to my ice cream. These cones, with their cinnamon sugar coating, are ideal for fall or when craving extra sweetness. Now I will discuss the process of making these delightful treats together!
- 2/3 cup gluten-free all-purpose flour blend
- 1/4 teaspoon xanthan gum (for binding)
- 1/4 teaspoon sea salt (enhances flavor)
- 1/4 cup granulated sugar
- 1/4 cup brown sugar (adds depth)
- 2 large eggs (for structure)
- 1/4 cup whole milk
- 1/4 cup unsalted butter, melted
- 1 tablespoon vanilla extract
- 1 teaspoon ground cinnamon (for that spiced flavor)
To make the batter:
- Mix dry ingredients in a bowl
- Whisk wet ingredients separately
- Combine wet and dry mixtures
- Let batter rest for 5 minutes
For cooking:
- Preheat your waffle cone maker
- Pour about 2 tablespoons of batter onto the center
- Cook for 30-60 seconds, flipping halfway for even browning
- Shape immediately while hot
To coat the cones with cinnamon sugar, combine 1/4 cup sugar with 1 tablespoon cinnamon. Brush each cone with melted butter and roll in the mixture. These cones are a perfect match for vanilla or apple pie ice cream. They’re best enjoyed fresh but can be kept for up to 5 days in an airtight container. For a unique twist, consider substituting milk with alternative options to create distinctive flavors!
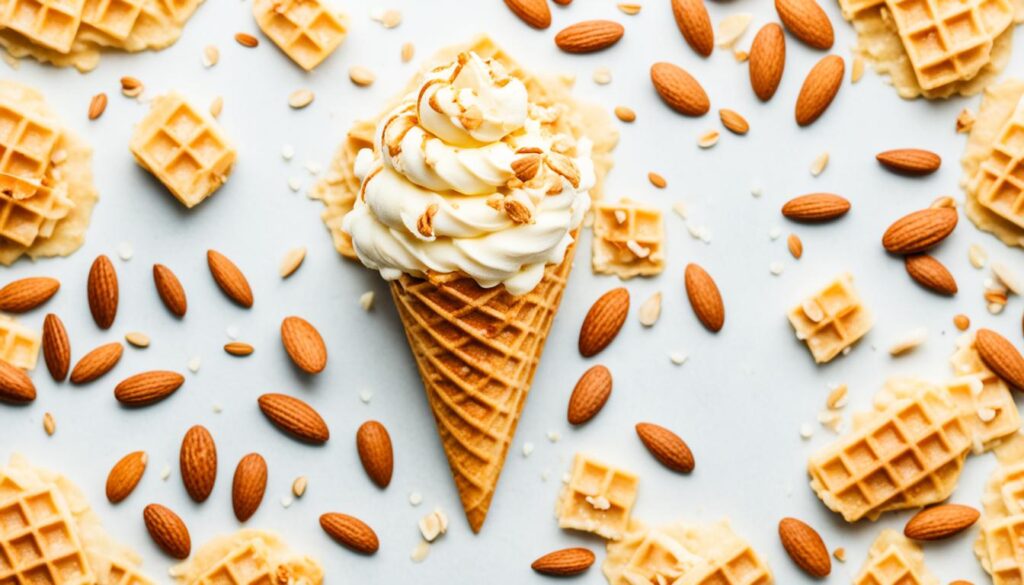
Almond Gluten Free Waffle Cones
I’m passionate about making nutty waffle cones that are both tasty and gluten-free. Today, I’ll unveil my recipe for almond gluten-free waffle cones. This recipe makes 8 cones, each measuring 7 inches in diameter. These cones bring a nutty twist to ice cream lovers.
Here’s what you’ll need for 8 cones:
- 1 cup gluten-free 1-to-1 flour
- 1/4 cup finely ground almonds
- 10 tbsp granulated sugar
- 2 eggs
- 4 tbsp milk (dairy-free or regular)
- 8 tbsp melted butter
- 1 tsp vanilla extract
- 1 tsp almond extract
To prepare the batter, combine dry ingredients in one bowl and wet ingredients in another. Gradually mix them together for a smooth consistency. Allow the batter to rest for 10 minutes while heating your waffle cone maker.
Cook each cone for about 2 minutes in the waffle maker. Then, shape it using a cone mold. The gluten-free flour ensures structure, while ground almonds add a nutty flavor. Eggs bind the ingredients, milk adds moisture, butter enriches the taste, and extracts enhance the flavor profile.
These cones are perfect with cherry, chocolate, or coffee ice cream. For an added flair, top with toasted sliced almonds. Store them in an airtight container at room temperature for up to 2 days. If they become chewy, re-crisp them in the oven for 4-6 minutes.
Lemon Poppy Seed Gluten Free Waffle Cones
I like making citrus-flavored waffle cones, especially these lemon poppy seed cones. The zesty lemon taste combined with the subtle crunch of poppy seeds creates a treat that’s hard to resist. Now I will discuss how to make these gluten-free waffle cones that are both refreshing and delightful.
For 8 7-inch diameter waffle cones, you’ll need:
- 1 1/2 cups gluten-free flour blend
- 1/3 cup granulated sugar
- 2 tablespoons poppy seeds
- 2 tablespoons lemon zest
- 1/4 teaspoon salt
- 2 large eggs
- 1/4 cup melted butter
- 1/2 cup milk
- 1 teaspoon lemon extract
To begin, I whisk the dry ingredients together. In another bowl, I beat the eggs and mix in the melted butter, milk, and lemon extract. Then, I combine the wet and dry ingredients, stirring until the batter is smooth. The gluten-free flour ensures the cones have structure, while the poppy seeds add a delightful texture. The lemon zest and extract bring a vibrant citrus flavor to the cones.
Next, I use a preheated waffle cone maker to cook the batter. Pouring about 3 tablespoons of batter into the center, I cook for 60-90 seconds until they turn golden brown. Afterward, I shape the cones using a cone form or by hand. These cones are perfect for serving with fruit sorbets or light, creamy ice creams.
Did you know the waffle cone was introduced in 1904 by a Syrian immigrant at the World’s Fair in St. Louis? Over a century later, we continue to innovate with delicious variations like these citrus-inspired treats!
Matcha Green Tea Gluten Free Waffle Cones
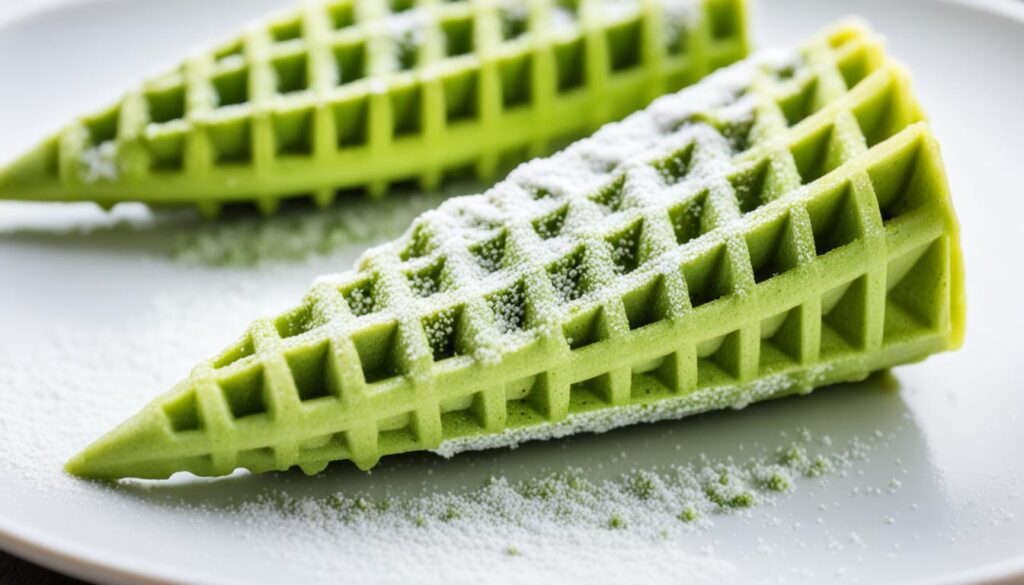
I am captivated by the art of making unique ice cream holders, and matcha waffle cones stand out as my current fixation. These cones, with their vibrant green hue, infuse an earthy essence into your beloved frozen delights. Let’s go on the journey of making these delectable green tea ice cream cones together!
- 1 cup gluten-free flour blend
- 1/4 cup sugar
- 1 tablespoon high-quality matcha powder
- 1/4 teaspoon salt
- 2 large eggs
- 1/4 cup melted butter
- 1/4 cup milk
- 1 teaspoon vanilla extract
Each component is integral to the final product. Gluten-free flour serves as the foundation, while sugar contributes sweetness. Matcha not only imparts a distinct flavor but also lends its characteristic green color. Eggs act as the binder, ensuring the mixture coheres. Butter enriches the batter with its richness, milk keeps it moist, and vanilla elevates the flavor profile.
To concoct the batter:
- Mix dry ingredients in a bowl
- Whisk wet ingredients separately
- Combine wet and dry mixtures until smooth
- Let the batter rest for 10 minutes
Preheat your waffle cone maker for cooking. Place about 3 tablespoons of batter in the center. Cook for 1-2 minutes, or until the cone turns a golden green hue. While still hot, shape the cone into its desired form. Remember, practice is important to perfection!
These matcha waffle cones are sublime with vanilla or green tea ice cream. For a taste of Japan, pair them with red bean ice cream and a sprinkle of toasted sesame seeds. And, for those seeking a vegan alternative, these cones can be made without eggs.
| Flavor Pairing | Topping Suggestion |
|---|---|
| Vanilla Ice Cream | Matcha Powder Dusting |
| Green Tea Ice Cream | Toasted Sesame Seeds |
| Red Bean Ice Cream | Crushed Pistachios |
Pumpkin Spice Gluten Free Waffle Cones
Fall flavored waffle cones are a delightful treat for autumn. I love making pumpkin spice cones at home. They’re perfect for holding scoops of cinnamon or vanilla ice cream. Let me share my recipe for gluten-free pumpkin spice waffle cones that yields about 9 cones.
For the batter, you’ll need:
- 1 1/3 cups gluten-free flour blend
- 1 cup granulated sugar
- 4 large egg whites
- 1/2 cup heavy cream
- 10 tablespoons salted butter, melted
- 2 teaspoons vanilla extract
- 3 teaspoons pumpkin pie spice
- 2 tablespoons pumpkin puree
To make the batter, whisk the dry ingredients first. Then, mix in the wet ingredients until smooth. Heat your waffle cone iron and cook each cone until golden brown. Shape them quickly while still warm. These pumpkin spice cones can be stored in an airtight container for up to 2 weeks.
| Ingredient | Purpose |
|---|---|
| Gluten-free flour | Provides structure without gluten |
| Sugar | Adds sweetness and helps with browning |
| Egg whites | Binds ingredients and adds structure |
| Heavy cream | Adds richness and helps with texture |
| Butter | Provides flavor and helps with crispiness |
| Vanilla extract | Enhances overall flavor |
| Pumpkin pie spice | Gives signature fall flavor |
| Pumpkin puree | Adds authentic pumpkin taste and color |
These fall flavored waffle cones are perfect for Thanksgiving gatherings or any autumn day when you’re craving a festive treat. Enjoy your homemade pumpkin spice cones with your favorite ice cream flavors!
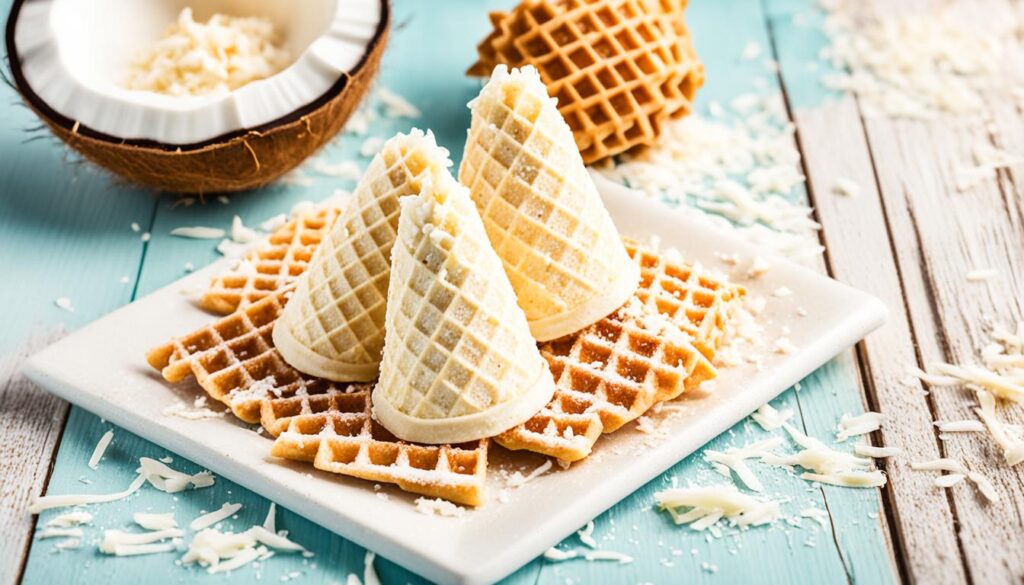
Coconut Gluten Free Waffle Cones
Listed below is my recipe for coconut waffle cones, adding a tropical flair to ice cream. These gluten-free cones are ideal for a delightful tropical dessert. Now I will discuss how to make these tasty cones together!
- 1/2 cup brown rice flour
- 1/4 cup tapioca flour
- 1/4 cup coconut flour
- 1/3 cup shredded coconut
- 1/2 tsp xanthan gum
- 1/4 tsp sea salt
- 1/3 cup granulated sugar
- 1/4 cup coconut oil (melted)
- 2 egg whites
- 1 tsp vanilla extract
- 1/4 cup whole milk
Follow these steps to create these scrumptious coconut waffle cones:
- Mix all dry ingredients in a bowl
- Whisk wet ingredients in a separate bowl
- Combine wet and dry mixtures until smooth
- Preheat your waffle cone maker
- Pour 2-3 tablespoons of batter onto the center
- Cook for 1-2 minutes until golden brown
- Quickly shape the cone while still warm
These cones are a perfect match for fruit-based ice creams like pineapple or mango. They can be stored for up to 3 days. Each cone has approximately 128 calories, 22g carbohydrates, and 4g fat. The coconut flour and shredded coconut infuse these cones with a tropical taste. Xanthan gum ensures the gluten-free flours stick together.
Peanut Butter Gluten Free Waffle Cones
I love creating nutty ice cream cones at home. Peanut butter cones are a favorite treat that pairs perfectly with various ice cream flavors. Now I will discuss making these delicious gluten-free waffle cones!
- 1 cup almond flour (for texture and nutty flavor)
- 2 tablespoons creamy peanut butter (for rich peanut taste)
- 3 tablespoons melted unsalted butter (for crispiness)
- 1/2 cup powdered monk fruit sweetener (for sweetness without sugar)
- 2 eggs (for binding)
- 1/4 teaspoon salt (to enhance flavors)
- 1/2 teaspoon vanilla extract (for aroma)
- 1/2 teaspoon baking powder (optional, for lighter texture)
- 1/4 cup finely chopped peanuts (for extra crunch)
To make the batter:
- Mix almond flour, sweetener, salt, and baking powder in a bowl.
- In another bowl, whisk eggs, melted butter, peanut butter, and vanilla.
- Combine wet and dry ingredients, then fold in chopped peanuts.
- Let the batter rest for 5 minutes to thicken.
Using the waffle maker:
- Preheat your pizzelle or waffle cone maker.
- Spoon about 2 tablespoons of batter onto the center of the iron.
- Cook for about 2 minutes until golden brown.
- Quickly remove and shape into a cone while still hot.
These peanut butter cones are perfect with chocolate, banana, or vanilla ice cream. For an indulgent treat, drizzle with melted chocolate and crushed peanuts. If you’re looking for sugar-free waffle options, this recipe is a great starting point.
| Nutrient | Amount per Serving |
|---|---|
| Calories | 156 |
| Total Fat | 15g |
| Cholesterol | 66mg |
| Sodium | 95mg |
| Carbohydrates | 4g |
| Net Carbs | 2g |
| Fiber | 2g |
| Sugar | 1g |
| Protein | 5g |
Berry Blast Gluten Free Waffle Cones
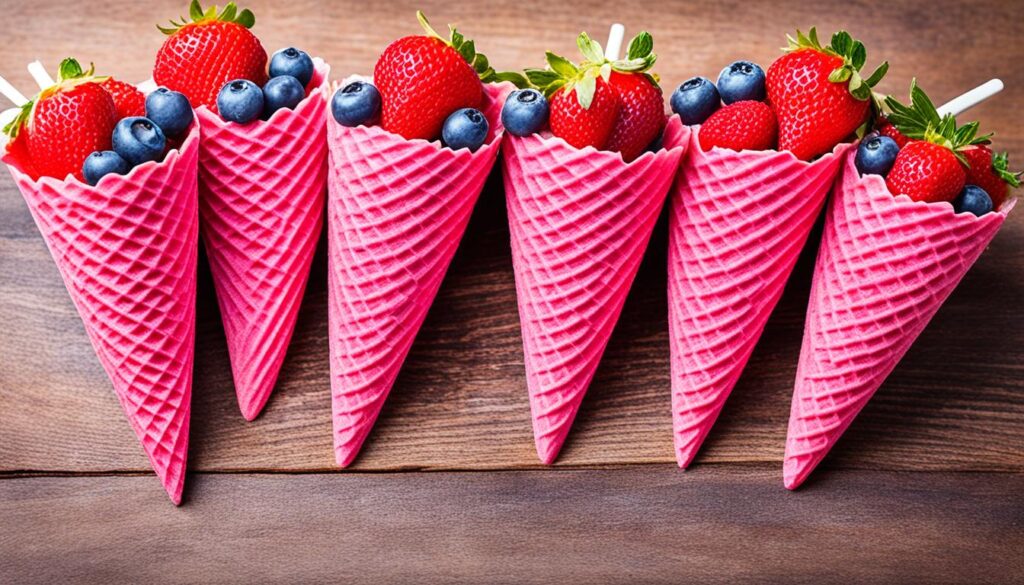
I love creating fruit waffle cones that burst with flavor! Berry flavored cones add a delightful twist to your ice cream experience. Now I will discuss making these vibrant gluten-free treats that pair perfectly with fruity ice creams or sorbets.
- 1 1/2 cups gluten-free flour blend
- 1/4 cup sugar
- 2 tablespoons freeze-dried berry powder (strawberry, raspberry, or blueberry)
- 1/4 teaspoon salt
- 2 large eggs
- 1/4 cup melted butter
- 1/2 cup milk
- 1 teaspoon vanilla extract
To make the batter, whisk dry ingredients in a bowl. In another bowl, beat eggs, melted butter, milk, and vanilla. Combine wet and dry mixtures until smooth. Let the batter rest for 10 minutes.
Preheat your waffle cone maker. Pour 3-4 tablespoons of batter onto the center of the iron. Cook for 1-2 minutes until golden brown. Quickly shape the cone while it’s hot. Repeat with remaining batter.
These berry blast cones are perfect for creating delicious ice cream treats. The gluten-free flour provides structure, while the berry powder infuses fruity flavor. Eggs bind ingredients, butter adds richness, and milk ensures a crisp texture.
| Ingredient | Purpose |
|---|---|
| Gluten-free flour blend | Provides structure |
| Sugar | Adds sweetness |
| Freeze-dried berry powder | Infuses fruity flavor |
| Salt | Enhances overall taste |
| Eggs | Bind ingredients |
| Butter | Adds richness |
| Milk | Ensures crisp texture |
| Vanilla extract | Complements berry flavor |
Vegan and Dairy-Free Waffle Cone Options
I’m passionate about making vegan waffle cones that rival traditional ones in taste. These cones are ideal for those with dietary limitations or those eager to look at new flavors. My go-to recipe produces 6 delectable cones in mere 20 minutes.
- 1 cup gluten-free flour (I recommend King Arthur Measure for Measure)
- 1/4 cup organic granulated sugar
- 1/4 teaspoon salt
- 2 tablespoons melted coconut oil
- 1/2 cup plant-based milk
- 1 teaspoon vanilla extract
To concoct the batter, combine dry ingredients in a bowl. In another vessel, blend the wet ingredients. Gradually add the wet mixture to the dry, stirring until well incorporated. The batter should be akin to pancake batter in consistency.
Preheat your waffle cone maker. Cook each cone for 1-1.5 minutes. Immediately shape the warm cone using a cone form or by hand. Allow them to cool before serving or storing in an airtight container for up to 24 hours.
These vegan waffle cones are not just tasty but also wholesome. Each cone boasts approximately 168 calories, 29g of carbohydrates, 2g of protein, and 6g of fat. They’re an excellent choice for your favorite dairy-free ice cream!
| Ingredient | Purpose |
|---|---|
| Gluten-free flour | Main structure, gluten-free alternative |
| Organic sugar | Sweetness, crispiness |
| Salt | Flavor enhancement |
| Coconut oil | Binding, crisp texture |
| Plant-based milk | Moisture, dairy replacement |
| Vanilla extract | Flavor |
Sugar-Free and Low-Carb Waffle Cone Alternatives
I’ve found an excellent method to indulge in ice cream guilt-free. Sugar-free waffle cones are now available, ideal for those monitoring their sugar intake or adhering to a ketogenic diet. I’m excited to share my recipe for keto ice cream cones, which will transform your low-carb desserts.
Using Sugar Substitutes
For my sugar-free waffle cones, I employ powdered monkfruit sweetener. This sweetener is a superior choice, as it doesn’t raise blood sugar levels. The recipe incorporates 1/2 cup of this sweetener, providing a classic sweet flavor without the carbs. Each cone boasts less than 1g net carbs, making it perfect for keto diets.
Low-Carb Flour Alternatives
I opt for 1 cup of almond flour instead of traditional flour. This choice keeps the net carbs at a mere 0.5g per cone. To make 6 cones, you’ll require 2 eggs, 1/4 teaspoon of salt, 3 tablespoons of grass-fed unsalted butter, and 1/2 teaspoon of vanilla. Adding an optional 1/2 teaspoon of baking powder can result in thinner, crispier cones.
Employing a WaffleCone Express Nonstick Ice Cream Cone Maker, which is around $15, allows me to produce these tasty treats in just 30 minutes. The outcome is a crunchy, fulfilling cone with 85 calories, 8g of fat, and 2.5g of protein. These sugar-free waffle cones maintain their crispness for days at room temperature, ideal for your preferred keto ice cream flavors!


